
Last updated November 16, 2026
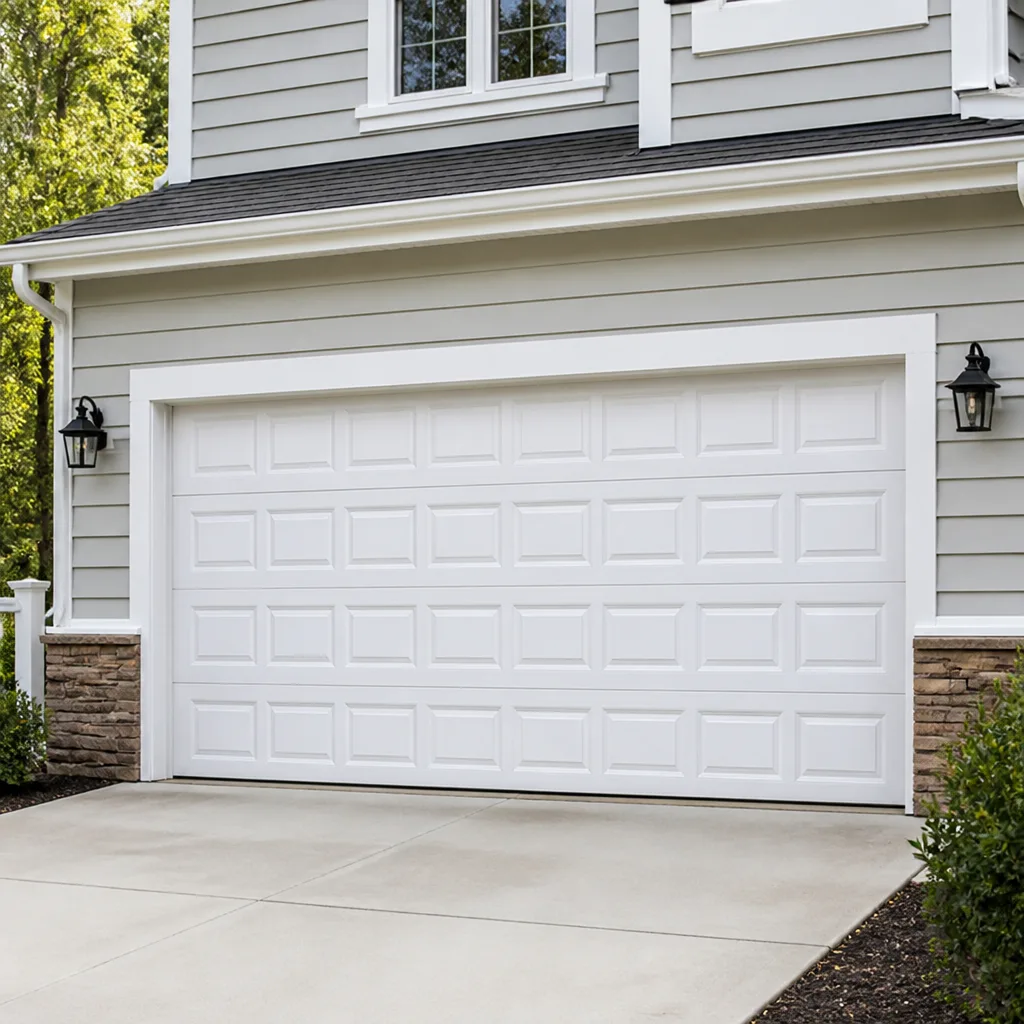 Raised-panel steel
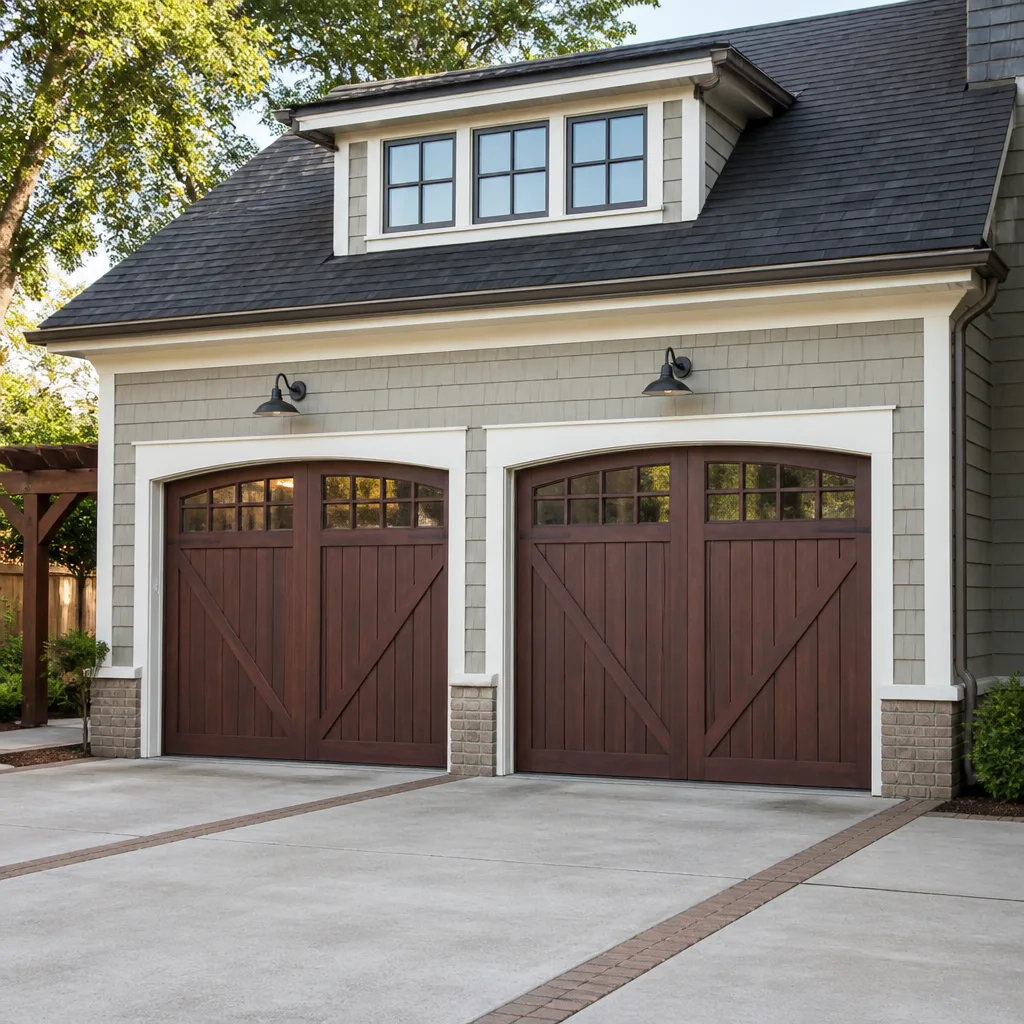 Carriage house
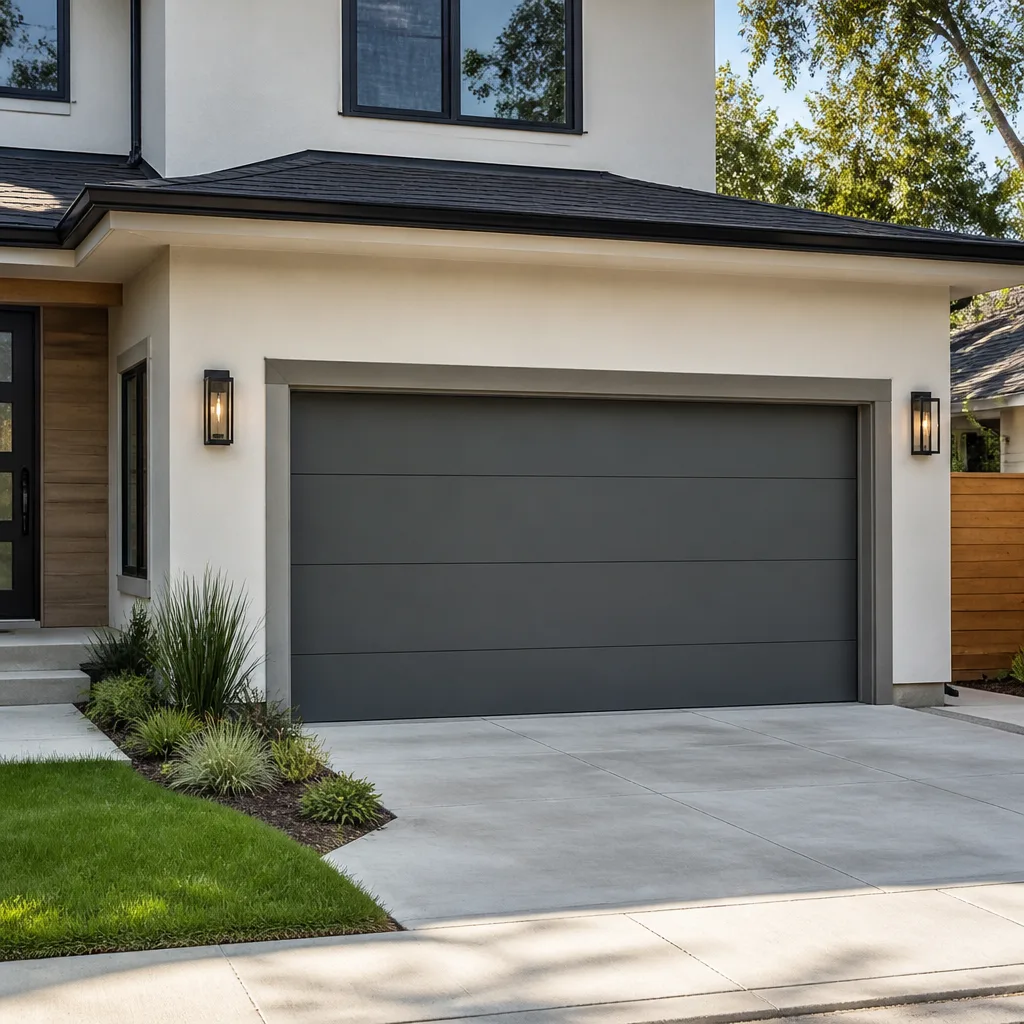 Modern flush
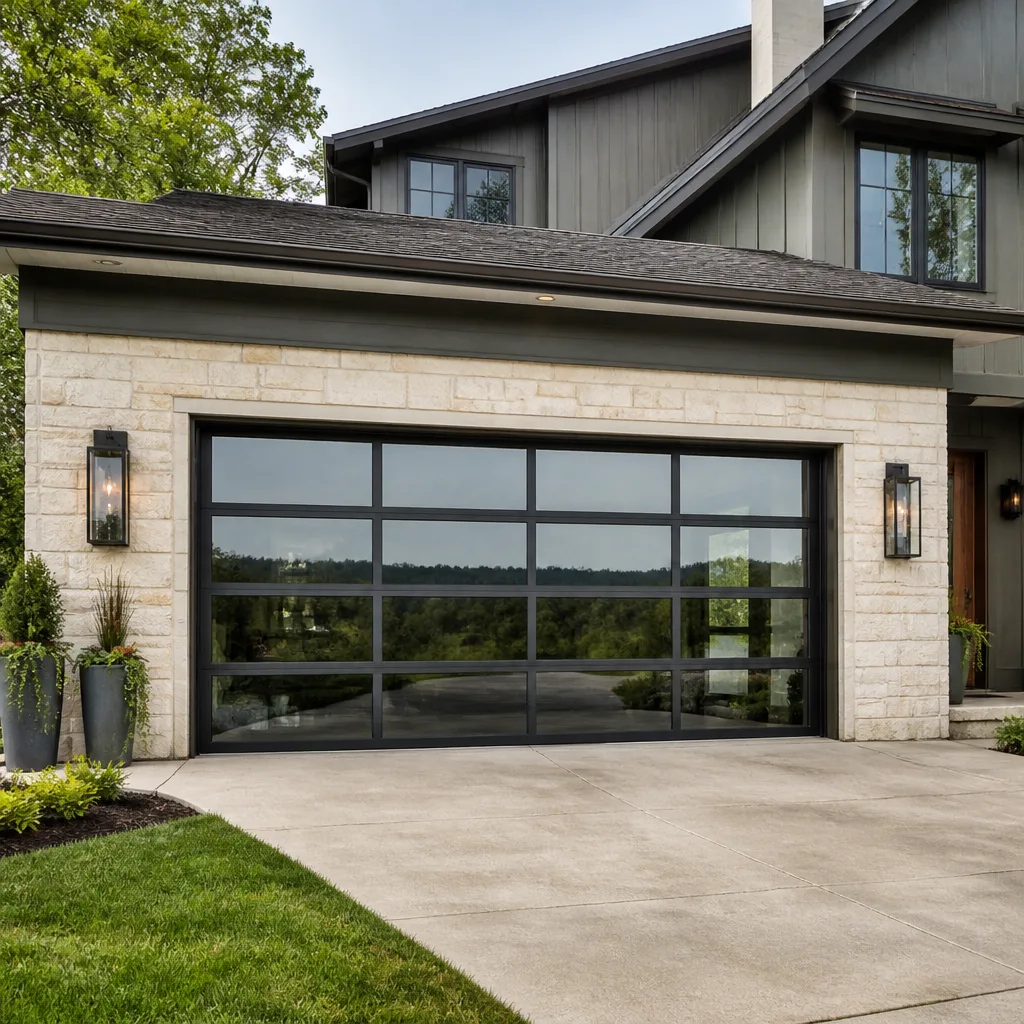 Full-view glass
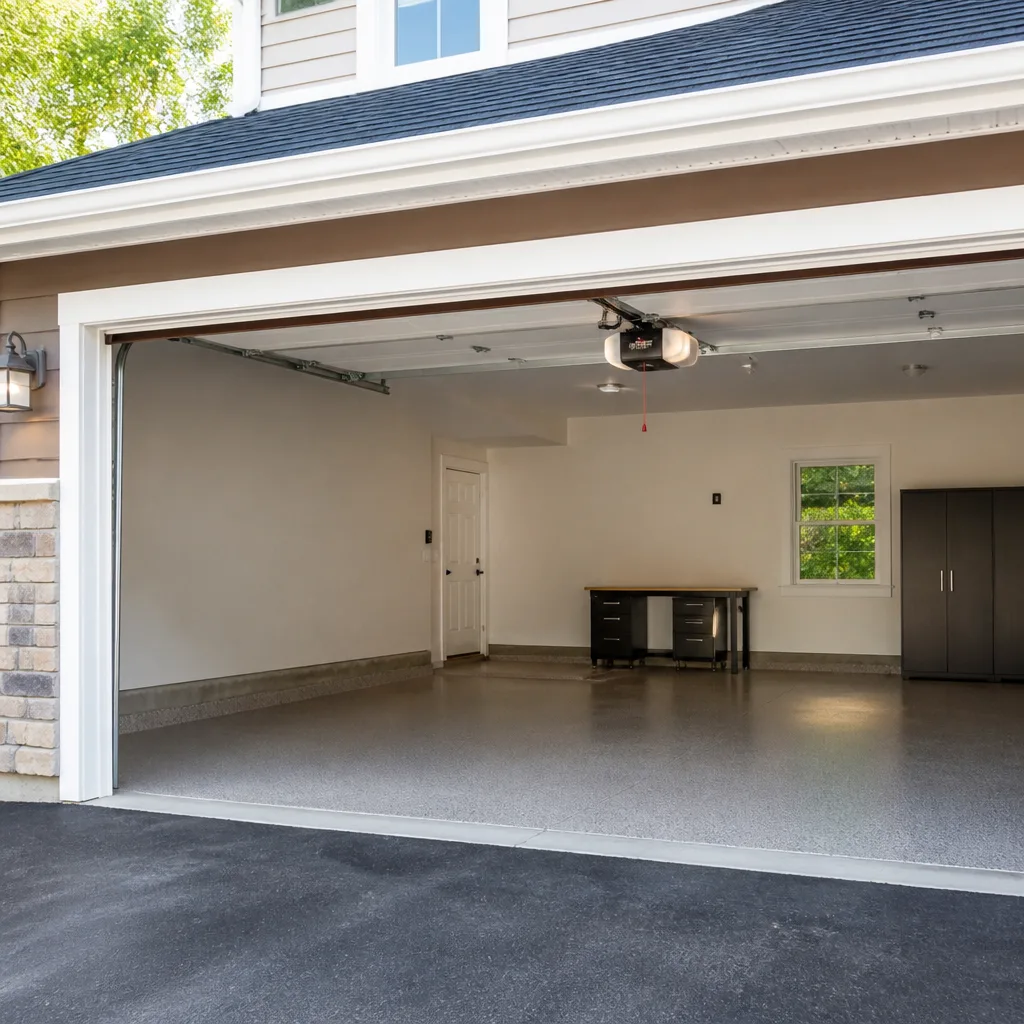 LiftMaster openers
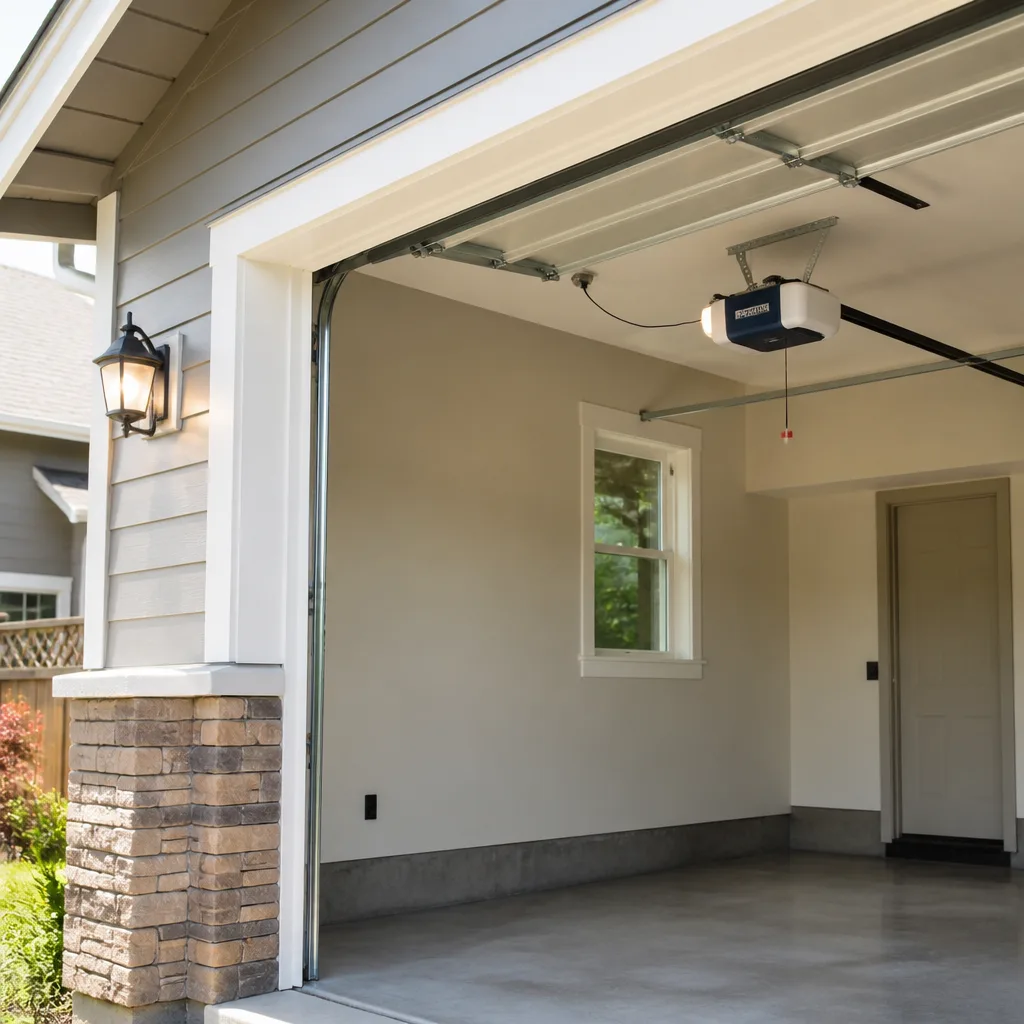 Chamberlain openers
Full 25-point door and opener safety check with every visit - springs, cables, rollers, tracks, and your LiftMaster or Chamberlain opener included
You get a price before we start. It does not change when the pro arrives.
Get your free estimateGarage Door Repair Troubleshooting in Miami Gardens: Common Problems and How to Fix Them
A noisy garage door and a slow garage door can share the exact same symptom – grinding – and yet need completely opposite fixes. Treat the noise as “just a squeak” and you spend an afternoon with a can of lubricant. Treat the slow movement as “just wear and tear” and you might be one cycle away from a bent track or a snapped spring. The single difference between the two is where the grinding comes from, and that difference is only visible once you know what to listen for. In this guide, we map the six failure patterns we see most often in Miami Gardens to their root causes, explain which ones you can safely reset yourself and which ones to stop touching, and give you a clear point at which continuing without a technician stops being a shortcut and becomes a risk. Read on and you’ll know exactly which pattern your door is in.
Quick Answer
Most Miami Gardens garage door problems fall into six patterns: a door that won’t move at all (usually a spring, opener or power fault), a door that moves but badly (track, roller or balance problem), a door that reverses before closing (sensor misalignment or a swelled bottom seal), an opener that hums without moving the door (capacitor, gear or logic board), a door that sags at one corner (cable or hinge damage), and a door that has become stiff and noisy (dried lubrication and warped tracks from humidity). The safest first step is to observe, not adjust – identify the pattern, check the small resettable items like sensors and the manual release, and call a technician for anything involving spring tension, cables or electrical work.
Styles & brands we work with
- Raised-panel steel
- Carriage house
- Modern flush
- Full-view glass
- LiftMaster openers
- Chamberlain openers
Table of Contents
- Why Miami Gardens Humidity Changes How Your Garage Door Fails
- Pattern 1: The Door Won’t Move at All
- Pattern 2: The Door Moves, But It Moves Wrong
- Pattern 3: The Door Reverses Before Closing
- Pattern 4: The Opener Hums But the Door Doesn’t Budge
- Pattern 5 and 6: The Door Sags or Groans
- Which Repairs Are Safe to Reset Yourself, and Which Aren’t
- The Stop-Here Checklist
Why Miami Gardens Humidity Changes How Your Garage Door Fails
If you moved to Miami Gardens from a drier part of the country, your garage door is aging faster than you expect, and it’s not the heat doing the damage. It’s the moisture in the air. South Florida’s year-round humidity sits inside an unvented garage for months, and it works on the door in ways a homeowner from a dry climate would never anticipate. Understanding the local conditions is the difference between diagnosing the real problem and chasing a symptom that keeps coming back.
A few things happen in a Miami Gardens garage that don’t happen elsewhere:
- Wood and composite panels swell. The bottom section of a wood or composite door takes on moisture, expands slightly, and starts binding against the frame. The homeowner feels resistance and assumes the opener is dying. Usually the opener is fine.
- Steel tracks warp and rust at the joints. The rail sections bolted together expand and contract with temperature swings between a warm afternoon and a cooler night, and the seams are where surface rust starts. A warped or rusty track misaligns the rollers, which causes vibration and grinding.
- Bottom seals swell and drag. Rubber seals soak up humidity, expand, and drag against the floor. The door closes but doesn’t seat, or it comes down with a slow scrape. That scrape is often misdiagnosed as a track misalignment.
- Lubrication dries faster than the label says. The dry interval on a garage door lubricant is written for a moderate climate. In a hot Miami Gardens garage, the same grease oxidizes and turns gummy in far less time, which is why a door that was serviced a few seasons ago can feel stiff again.
- Paint and finish break down on the sunny side. A west-facing door loses its protective finish first, and once the paint fails the steel underneath starts to corrode from the seams inward.
None of that is a case for alarm. It’s a case for looking in the right place first. A “slow, stiff, noisy” door in Miami Gardens is more often three humid-climate maintenance issues stacked together than a single mechanical failure. When you work with a multi-brand specialist like Sunstone Garage Door Repair, the technician is fluent in how humidity affects different makes – a Clopay composite door and a Raynor steel door age differently in the same climate, and the diagnosis should reflect that.
Pattern 1: The Door Won’t Move at All
A door that shows zero movement is almost never a body-of-the-door problem. It is a drive problem. Something in the chain that starts at the opener, passes through the springs and cables, and ends at the door itself has broken, and the door is sitting dead. The job is to find out which element stopped working before you touch anything else.
Work through these in order:
- Check the power first. An opener on a dead circuit, a tripped GFCI outlet, or a wall switch that got knocked off are all quiet failures that look exactly like a mechanical problem. Try the wall button and the remote. If neither responds, suspect power before mechanics.
- Test the manual release. Pull the red release cord to disengage the opener. If the door lifts under hand pressure, the springs and cables are holding tension and the door itself is balanced – the fault is in the opener. If the door feels impossibly heavy or won’t lift, the spring has failed and the door is being held by gravity and whatever tension is left. Do not force it.
- Look at the spring above the door. A torsion spring will show a visible gap in the coil when it has snapped. An extension spring will be dangling loose on one side. Either one means the door is unpowered and unsafe to operate. Stop here.
- Inspect the cables. A snapped cable will hang slack and might already have left the drum. That’s a stop-here situation too.
- Listen for a hum. If the opener hums when you press the button but the door doesn’t move, skip to Pattern 4 – that’s an opener issue, not a door issue.
We see this pattern most often on doors that sat through an especially wet February or a long rainy season in neighborhoods like Carol City and Scott Lake. The high humidity works on the springs and cables as much as the panels. Our technicians have up to 8 years of experience and can read a failed spring from the driveway. If you’re in Miami Gardens and the door hasn’t moved in days, a diagnostic call is faster than guessing – see our garage door repair page for what the repair visit covers.
Pattern 2: The Door Moves, But It Moves Wrong
A door that moves but runs rough, drags, rides one side higher than the other, or shudders on the way up is telling you something very different. The drive system is intact. The problem is in the mechanical path the door travels – the tracks, the rollers, the hinges, or the balance of the door itself. This is where the “fix it now before it gets worse” logic actually pays off, because a track or roller problem under tension pounds the whole assembly with every cycle.
A door that moves-wrong usually fits into one of these:
- Ride height imbalance. One side comes up an inch or two ahead of the other. That’s usually a stretched or out-of-adjustment cable on one side – and cables are a stop-here item, not a DIY fix.
- Grinding or metal-on-metal. Rollers are seized, the track has a kink, or a hinge is bent. A seized roller left alone will wear a groove in the track, which is how a roller swap becomes a full track replacement.
- Bouncing or jerking. The door is unbalanced. Springs carry the door’s weight, and when they lose tension the opener starts doing the lifting. Once the opener is fighting the weight of the door, it wears the gear and motor.
- Binding at one section. A panel has warped with humidity or the door has shifted off square. Look at the pivot points – that’s where a swollen bottom panel shows up first.
- Shuddering in the last foot of travel. A failing bottom bracket or a hinge that’s lost a roller.
In our experience, the most-missed one is ride-height imbalance. Homeowners feel the door “moving weird” and lubricate the rollers, which quiets it for a week and does nothing for the real cause. That’s what makes this pattern so confusing to diagnose at home. If you have a LiftMaster or Chamberlain opener and the door is running rough, the opener isn’t necessarily at fault – a door that’s out of balance will fight any opener on the market. The right question is always “what is the door doing,” not “which brand is the opener.” We cover the difference in more depth on the garage door opener repair page.
Pattern 3: The Door Reverses Before Closing
A door that comes down, stops, and heads back up is doing exactly what it was designed to do when it detects an obstruction – it just thinks it has found one. The safety reverse system is working; the obstacle is either real or imagined. That is almost always a sensor or seal issue, not a structural failure, and it’s the most common “emergency” call that turns out to be a five-minute fix.
Walk through this sequence:
- Check the safety sensors at the bottom of the tracks. Both lenses should have a solid indicator light. A blinking light on either means the beam is broken or misaligned. Clean the lenses first – a spider or a film of dust is enough to break the beam in a humid garage.
- Check alignment. A gentle nudge to one sensor housing can knock it out of aim. Adjust the bracket until the indicator light goes solid.
- Clear the travel path. Swelled bottom seals drag on the floor and can trip the reverse. So can a pebble, a piece of lawn debris, or a tote that got shoved too close.
- Test the manual force adjustment last. If the sensors are solid, the path is clear, and the door still reverses on the last few inches, the opener’s force setting may need adjustment. That’s a professional setting; over-adjusting it defeats the safety reverse, which is the last line of defense before the door crushes something.
- Check the seal itself. If the rubber bottom seal has swelled with moisture and set into a permanent flattened shape, replacing it solves the reverse-by-drag problem for good.
Here is the part most guides skip: a door that reverses on the last few inches during the wet season is often a swelled seal problem masquerading as a sensor problem. Homeowners clean sensors for an hour; the door keeps reversing because the seal is literally holding it up. This is very common on older doors in neighborhoods like Andover and Norwood, where the original seal has seen many rainy seasons. If you’ve already cleaned and aligned the sensors and the door still bounces back, that’s the point at which you should have a technician look at the door mechanics, not the electronics.
Pattern 4: The Opener Hums But the Door Doesn’t Budge
When the opener makes noise but the door stays put, the door hardware is often fine. The motor is spinning but the connection between the motor and the door isn’t moving the door. The question is which of the three opter parts has failed – the logic board, the motor, or the capacitor – and answering that first is what separates a repair from an unnecessary replacement.
How to narrow it down without guessing:
- Logic board. The wall button and remote stop responding, the opener beeps or flashes a code pattern, and it may not complete a travel cycle even under hand assistance. The motor is fine; the controller isn’t sending the command.
- Motor. A distinctive burning smell, the opener hums weakly, and the door stalls partway with no mechanical binding. Motor failure usually follows months of the opener driving an out-of-balance door.
- Capacitor. The motor hums but won’t start, especially when the garage is hot. A failed capacitor is cheap to replace and is a common failure point on older openers that get a lot of heat. A technician can test this in minutes; a homeowner cannot, and shouldn’t try to open the opener case to do it.
- Gear and sprocket. You may see plastic shavings on the rail or hear a chattering hum. The gear wears out on older LiftMaster and Chamberlain units after years of driving a heavy door.
- Chain or belt. A broken chain or a shredded belt will show itself immediately when you look at the rail. That’s a mechanical replacement, not an electronics problem.
A Craftsman opener from the 2000s and a Genie from the same era use completely different logic boards, capacitors and gear designs. That’s why “diagnose the symptom, not the brand” is the principle that saves money – it means one visit instead of a parts-swap guessing game. If you’re in Miami Gardens and your opener is humming into the void, stop pressing the button; every cycle speeds up the damage. Our technicians handle opener repair as a specialty, not a side job.
Pattern 5 and 6: The Door Sags or Groans
These two patterns often show up together – the door sags on one side and groans on the way up – but they have different root causes. The sag is structural. The groan is usually friction, and friction is the symptom, not the disease.
Pattern 5: The door sags at one corner. When one corner hangs low, the most common culprits are:
- A snapped or slack cable on one side
- A hinge that has pulled loose from the panel
- A panel that has warped from repeated moisture exposure
- A pivot bracket that’s bent or bearing that’s failed
A sagging door is a stop-here situation if you can see a slack cable. A cable under tension can snap with serious force, and a partially-completed cable job dangerous in ways a partial spring job isn’t. If you can see the door sagging and you’re not sure why, call before you touch it.
Pattern 6: The door groans and fights every cycle. This is the friction pattern, and it’s the one that responds best to the “fix it early” approach. The three usual causes:
- Dried lubrication. The hinges, rollers and springs all need periodic grease. In Miami Gardens’ humidity, the interval is shorter than the label suggests.
- Rollers that have gone flat or seized. A seized roller grinds on the track instead of rolling along it.
- Tracks that are out of alignment. Humidity-warped tracks push the rollers off the rail line, and the door fights its way along every cycle.
One easy test: disengage the opener with the manual release, then raise and lower the door by hand. If it moves smoothly and quietly under hand pressure, the door itself is balanced and the noise is likely friction. If it feels stiff, heavy, or binds in one spot, the door needs a technician’s eye before the friction turns into a track or panel problem.
Which Repairs Are Safe to Reset Yourself, and Which Aren’t
Part of the value of a troubleshooting guide is telling you when to stop reading and call, not how to keep going. Here’s the honest split. Spring tension adjustments and cable work belong to a trained technician, full stop. These components carry the weight of the door and store energy that can release violently. A spring that’s been partially adjusted or “loosened a touch” by a homeowner is more dangerous than a spring that’s clearly snapped, because the failure is less predictable. If you’ve already touched a spring or a cable and the door isn’t back to dead-straight travel, treat that as a stop-here situation and call a professional.
The safe-to-reset list is short and useful:
- Safety sensors. Cleaning the lenses and realigning the brackets is safe and solves most reverse-before-close calls.
- The manual release. Pulling the red cord to test door balance under hand pressure is safe and tells you a lot.
- Lubrication. Greasing hinges, rollers and springs with a proper garage door lubricant is safe and prevents a whole category of noise.
- Power and remotes. Checking breakers, outlets, batteries and wall switches is safe and rules out a huge share of “the door is dead” calls.
- Visual inspection. Looking for a snapped spring, a dangling cable, a sagging corner or a kinked track is safe and is the most useful thing you can do.
An opener that’s already humming or flashing a fault code is also on the “leave the case closed” list. The electronics store a meaningful charge and the moving parts inside are not friendly to a screwdriver. If the opener is older and the case has never been opened, don’t be the one to open it.
The Stop-Here Checklist
These are the moments when continuing crosses from safe to risky. If you hit any of these, close the toolbox and call for help.
- You see a snapped spring, or a spring with a visible gap in the coil. Stop. Don’t force the door up. Don’t try to “help” it with a crowbar.
- You see a slack or detached cable. Stop. Cables are under heavy load and can snap back with serious force.
- You can’t lift the door with the manual release engaged. The door is unpowered and unbalanced. Don’t operate the opener against it.
- You’ve begun any spring or cable adjustment and it’s not back to level travel. A partially-done spring job is more dangerous than an untouched one.
- The door sags at one corner and you don’t know why. Any unexplained sag warrants a professional look.
- The opener is humming, sparking, or smells like burnt wiring. Cut the power at the breaker and call. Electrical work inside an opener is not a homeowner job.
- The door only reverses sometimes and the sensors are clean. An intermittent reverse that isn’t sensor-related is a mechanical problem the safety system is trying to tell you about.
Whenever the answer is “call,” that’s a diagnostic, not a sales call. A good technician will tell you if your door is a five-minute fix or a real repair. That’s the standard we hold ourselves to in Miami Gardens.
Common Mistakes to Avoid
- Lubricating to fix a grinding noise without finding the source. If the grinding is a seized roller, grease quiets it for a week and then the roller seizes again. You’ve moved the noise, not stopped the wear.
- Assuming the opener is failing when the door is out of balance. A door that’s lost spring tension makes a perfectly good opener look broken. Every month you run an opener against an unbalanced door costs you wear on the gear and motor.
- Blaming the safety sensors for a reverse-before-close without checking the bottom seal. A swelled seal from the Miami Gardens humidity can trip the reverse on its own. If you’ve already cleaned and aligned the sensors, the seal is the next stop.
- Adjusting spring tension “just a little” and calling it done. Partial spring adjustments leave the door in a state that’s harder to diagnose and more dangerous than a clearly failed spring.
- Replacing the whole opener on a humming fault before checking the capacitor and gear. Many “dead” openers are a capacitor and a gear away from another decade of service.
- Choosing a repair by brand instead of by symptom. A Craftsman and a LiftMaster that share the same symptoms likely share the same cause. Diagnose the symptom first.
- Letting a sagging door wait through another rainy season. A cable or hinge problem left alone in this climate compounds. The earlier it’s found, the cheaper and safer the fix.
See the difference
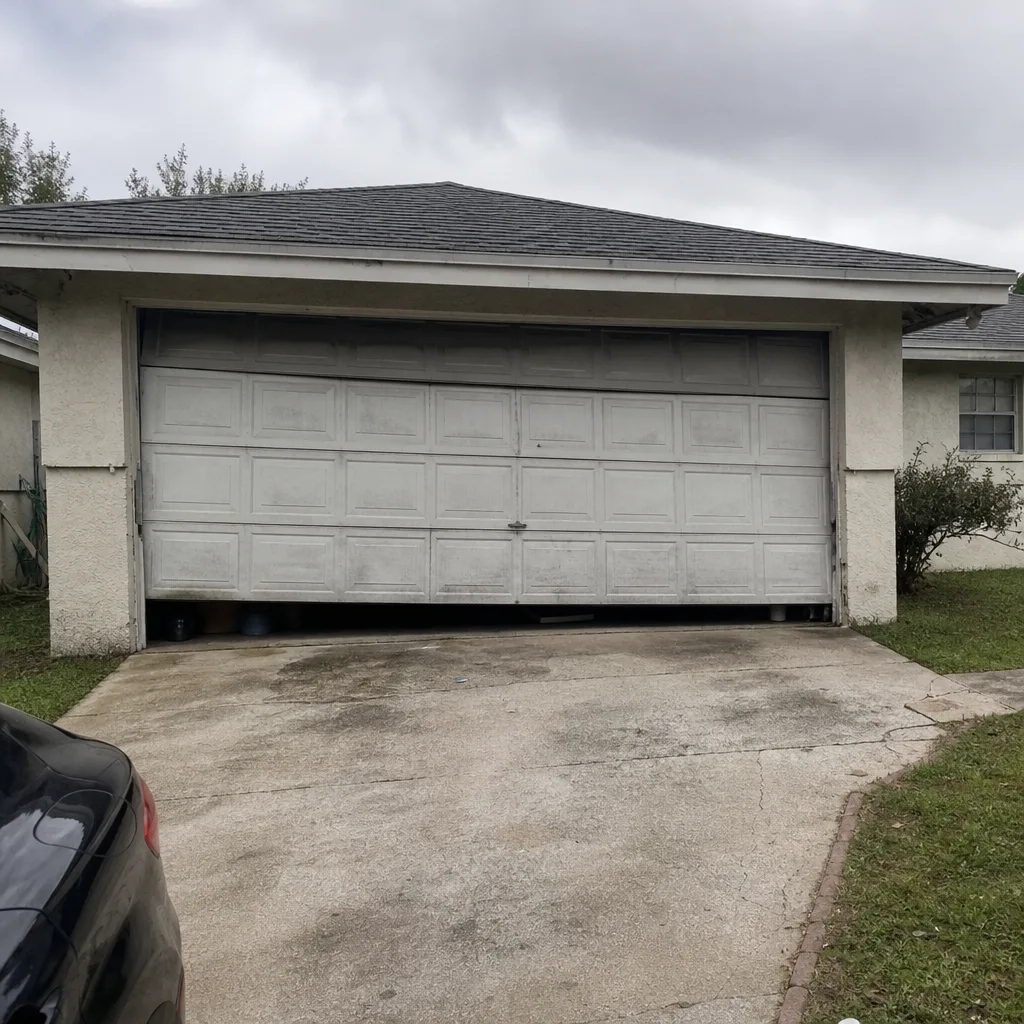 Before
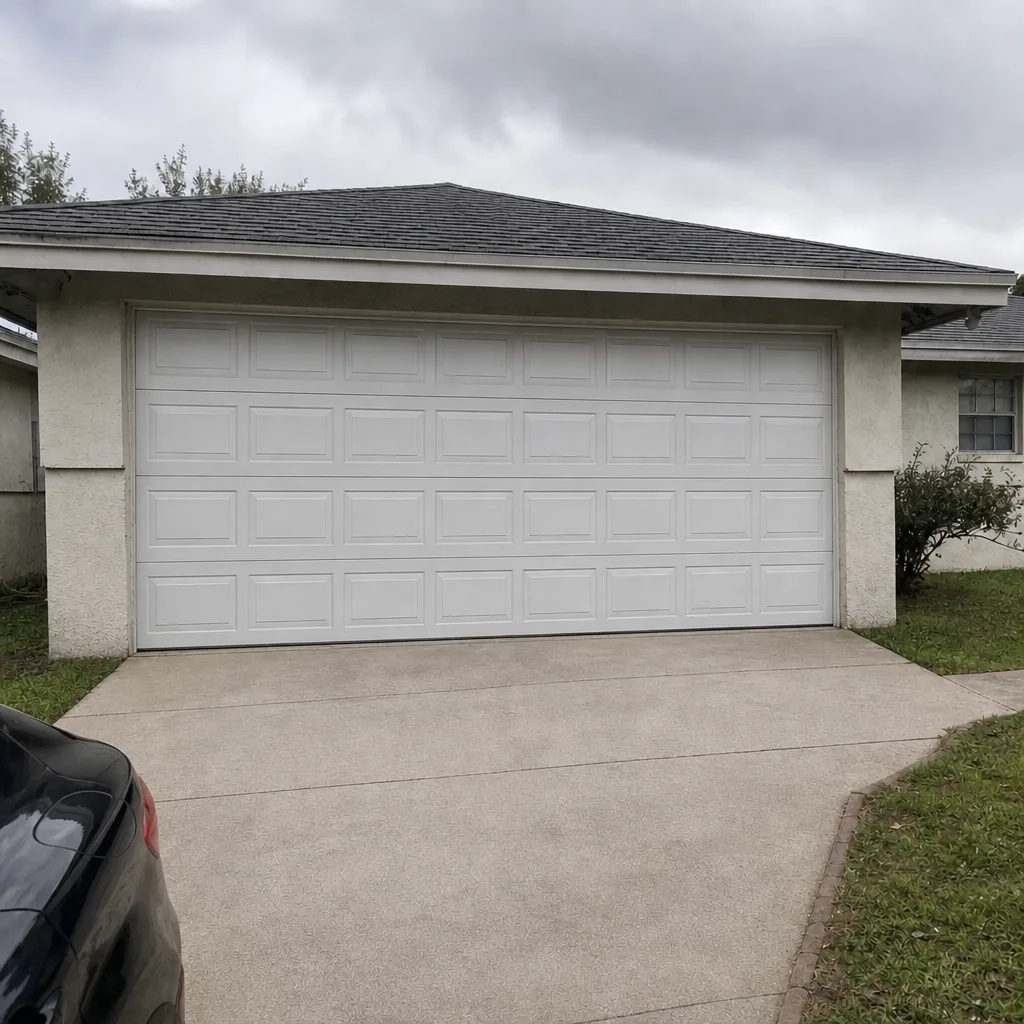 After
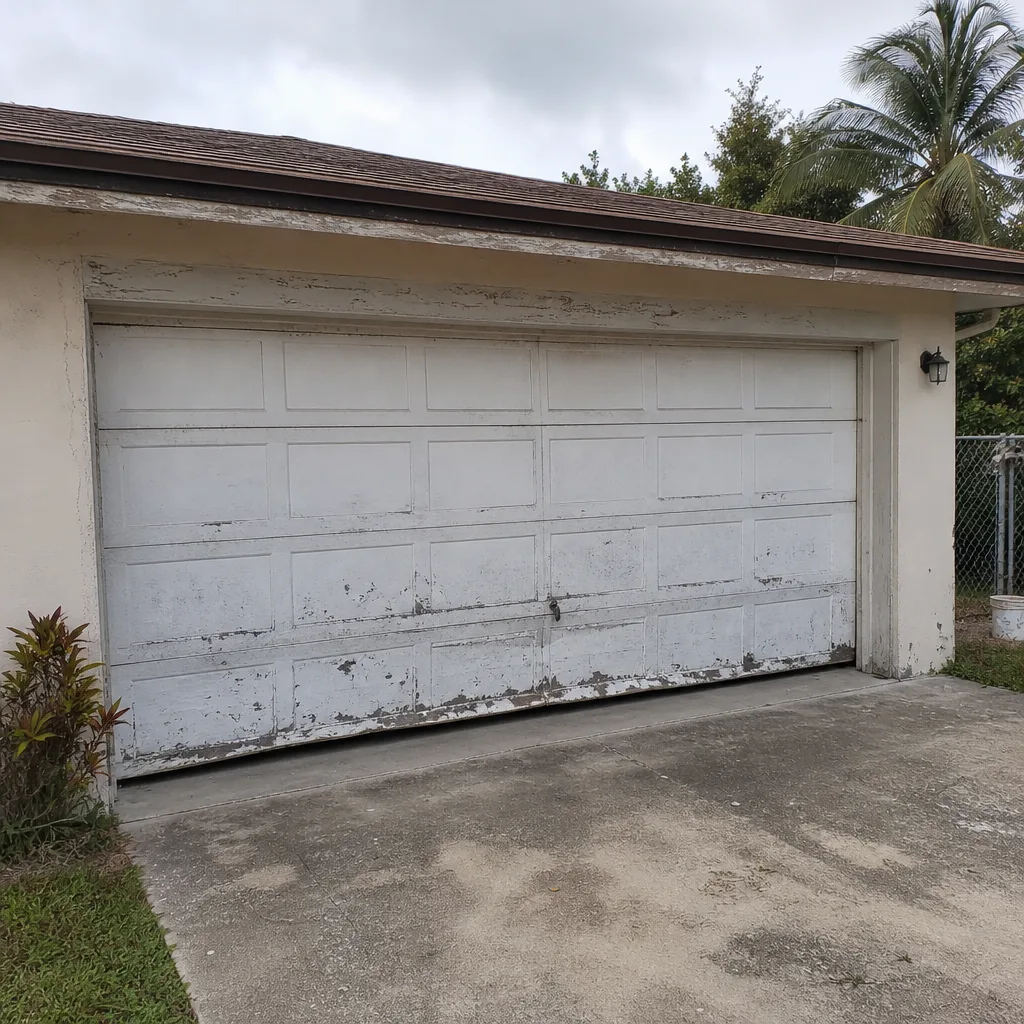 Before
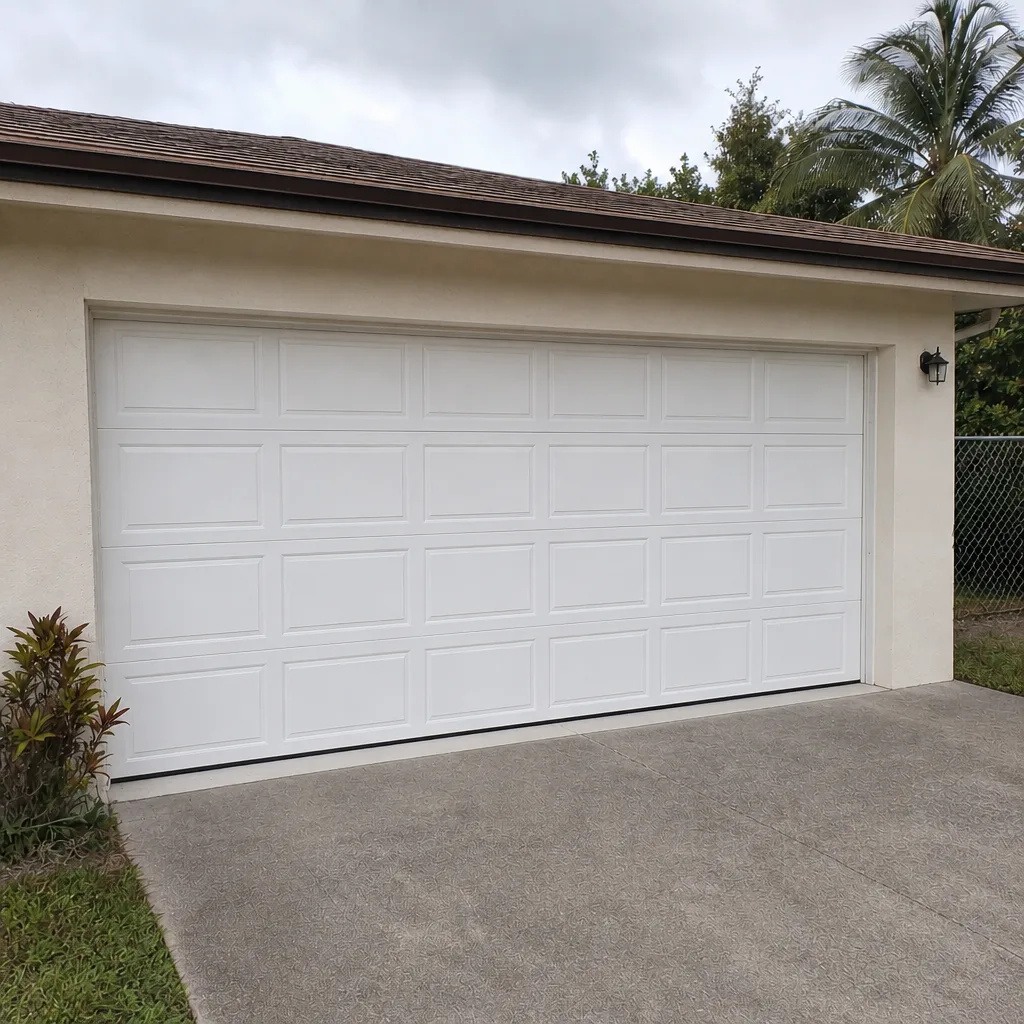 After
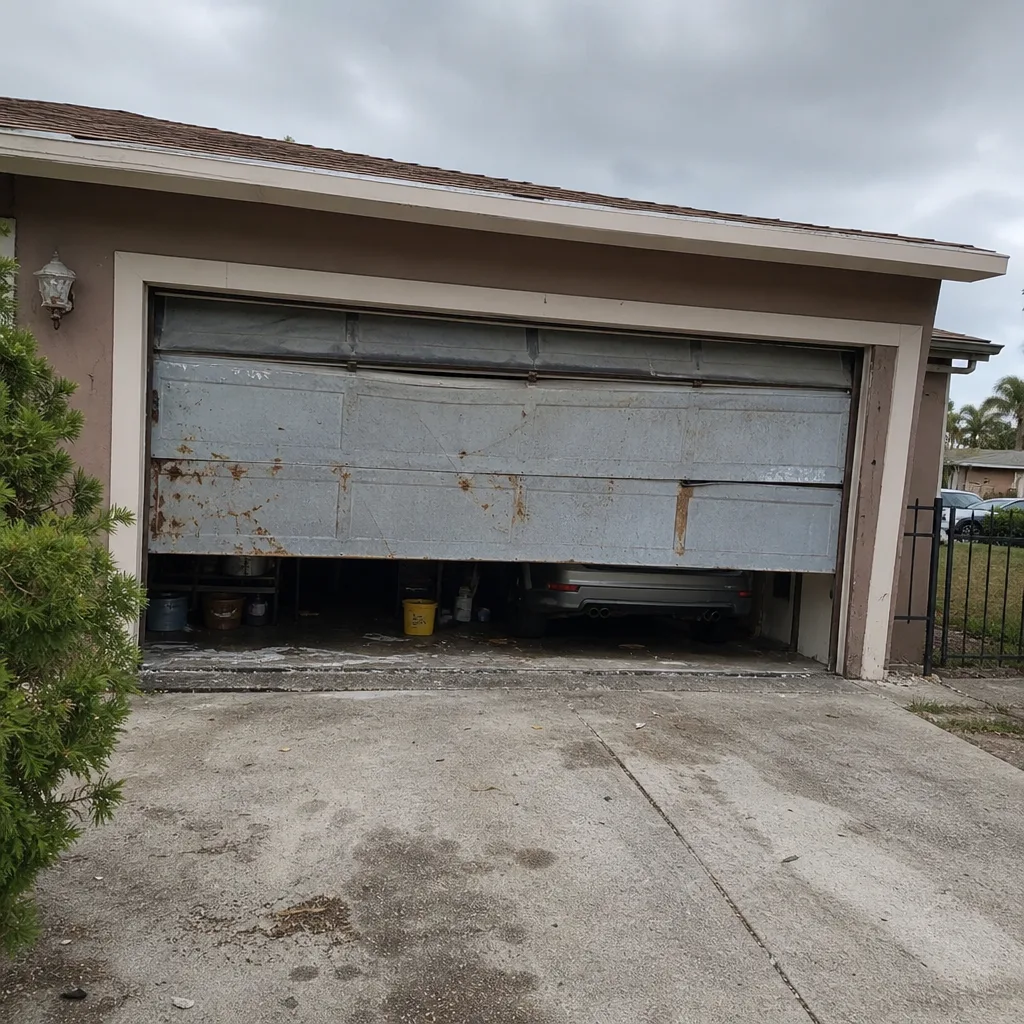 Before
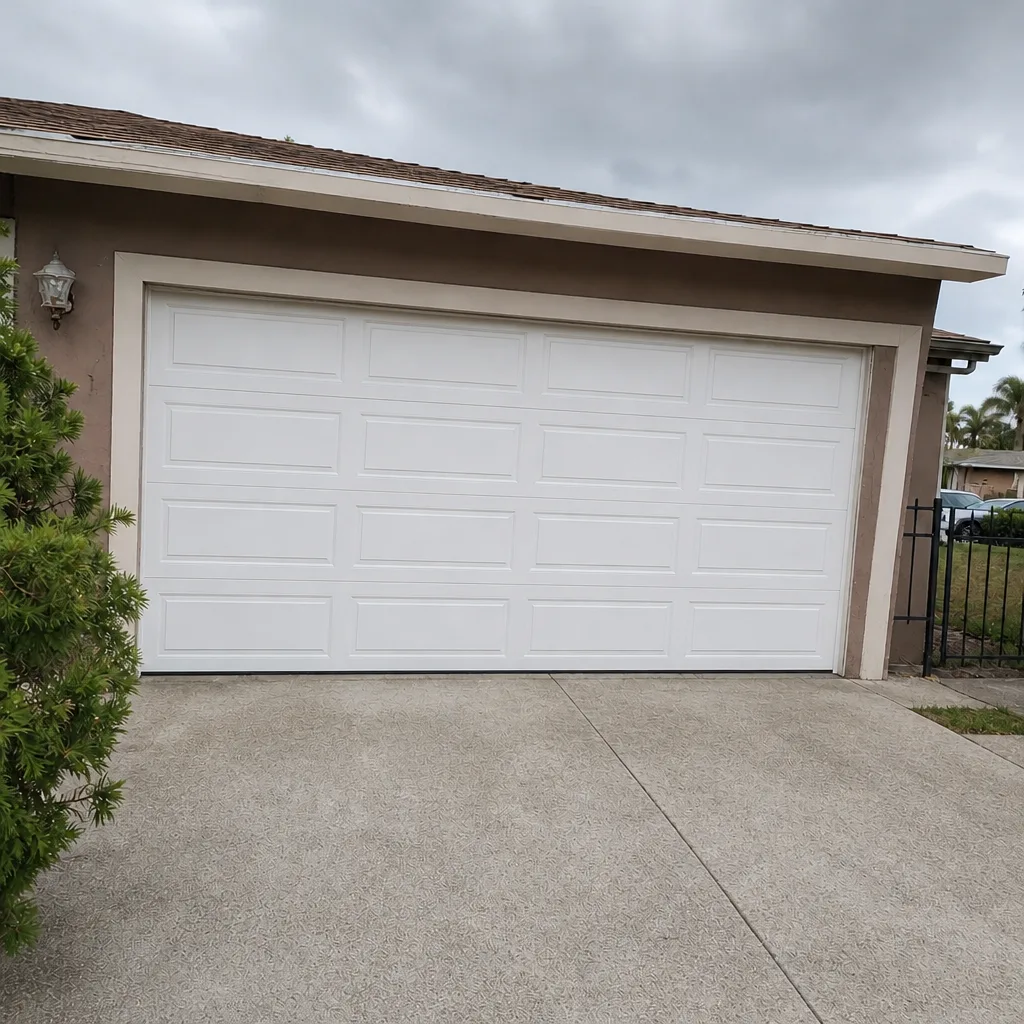 After
When to Call a Professional
Call a technician when the door won’t move and you can see a snapped spring or a slack cable, when the door sags at one corner, when the opener hums or flashes a fault code without moving the door, or when you’ve already reset the sensors and the door still reverses. Those four scenarios cover the majority of jobs that go wrong when homeowners try to handle them alone. If you live in Miami Gardens and you’ve found the cause is a spring, cable, or anything inside the opener housing, that’s the moment to stop and call. Sunstone Garage Door Repair offers free estimates in Miami Gardens – call (855) 360-7295. We answer 24/7, and fast dispatch from 7am to 7pm, Sunday through Friday. Call (855) 360-7295 and we’ll tell you what the door is doing before we tell you what it costs.
Frequently Asked Questions
A repair estimate in Miami Gardens is set per job by the written quote, and most common repairs – sensor realignment, roller replacement, a capacitor swap, or a swelled seal – fall into a modest range once the cause is diagnosed. Spring replacement is priced separately because a matched pair is usually done together, so a pair is roughly twice a single spring. The written estimate is agreed before any work starts, so there’s no surprise on the invoice. Call (855) 360-7295 for an exact quote – estimates are free.
For a door that won’t move, a snapped spring, or an opener that’s humming without moving the door, same-day service is usually possible if you call early. We answer 24/7, and fast dispatch from 7am to 7pm, Sunday through Friday. A call outside those dispatch hours is booked into the next opening. Call (855) 360-7295 and we’ll get you scheduled.
The written estimate is the price – it’s set before any work starts, after the technician has actually diagnosed the door. Your diagnosis can change between “it might be the opener” and “it’s the track,” but the quote you agree to is the number you’ll see on the invoice. Call (855) 360-7295 for a free estimate.
Yes, the technicians we connect you with are licensed and insured, and they’re experienced across all major garage door and opener brands – LiftMaster, Chamberlain, Genie, Clopay, Amarr, Wayne Dalton, Craftsman and Raynor. That breadth is what lets us diagnose by symptom rather than swapping parts one by one. Call (855) 360-7295 with your door or opener model and we’ll tell you what the visit typically covers.
The door reverses because the safety reverse system thinks it has found an obstruction – usually a misaligned sensor, a dirty lens, a swelled bottom seal, or something in the travel path. Check the sensor lights and clean the lenses first; if they’re solid and the door still reverses, the seal or the door mechanics need a look. Call (855) 360-7295 if that check doesn’t solve it.
If the opener hums but won’t move the door, the cause is often a capacitor, gear, or logic board – all repairable, and all much cheaper than a new unit. Replacement makes sense when the opener is failing repeatedly and the motor itself is gone, or when the door’s weight is exceeding what the opener was designed for. A diagnostic visit is the cheapest way to know for sure. Call (855) 360-7295.
The Bottom Line
The six failure patterns here cover most of what you’ll see on a Miami Gardens garage door, and knowing which one you’re in takes you most of the way to the right fix. A door that won’t move is a drive problem; a door that moves wrong is a mechanical issue; a door that reverses is a sensor or seal problem; a door that sags is structural; a door that groans is friction. Anything involving springs, cables, or the inside of the opener is a stop-here situation. The first hour of diagnosis is the most valuable hour you’ll spend on the door – and when it points at a real repair, our technicians have up to 8 years of experience working on the brands you already own. If you’re in Miami Gardens and want the door looked at, call (855) 360-7295 for a free estimate. We answer 24/7 and provide fast dispatch from 7am to 7pm, Sunday through Friday.
Sunstone Garage Door Repair handles garage door repair, garage door opener repair, and full garage door installation, and works on LiftMaster, Chamberlain, Genie, Clopay, Amarr, Wayne Dalton, Craftsman and Raynor equipment. Diagnosis comes first, and the quote is agreed before any work begins.
Written by the team at Sunstone Garage Door Repair.